
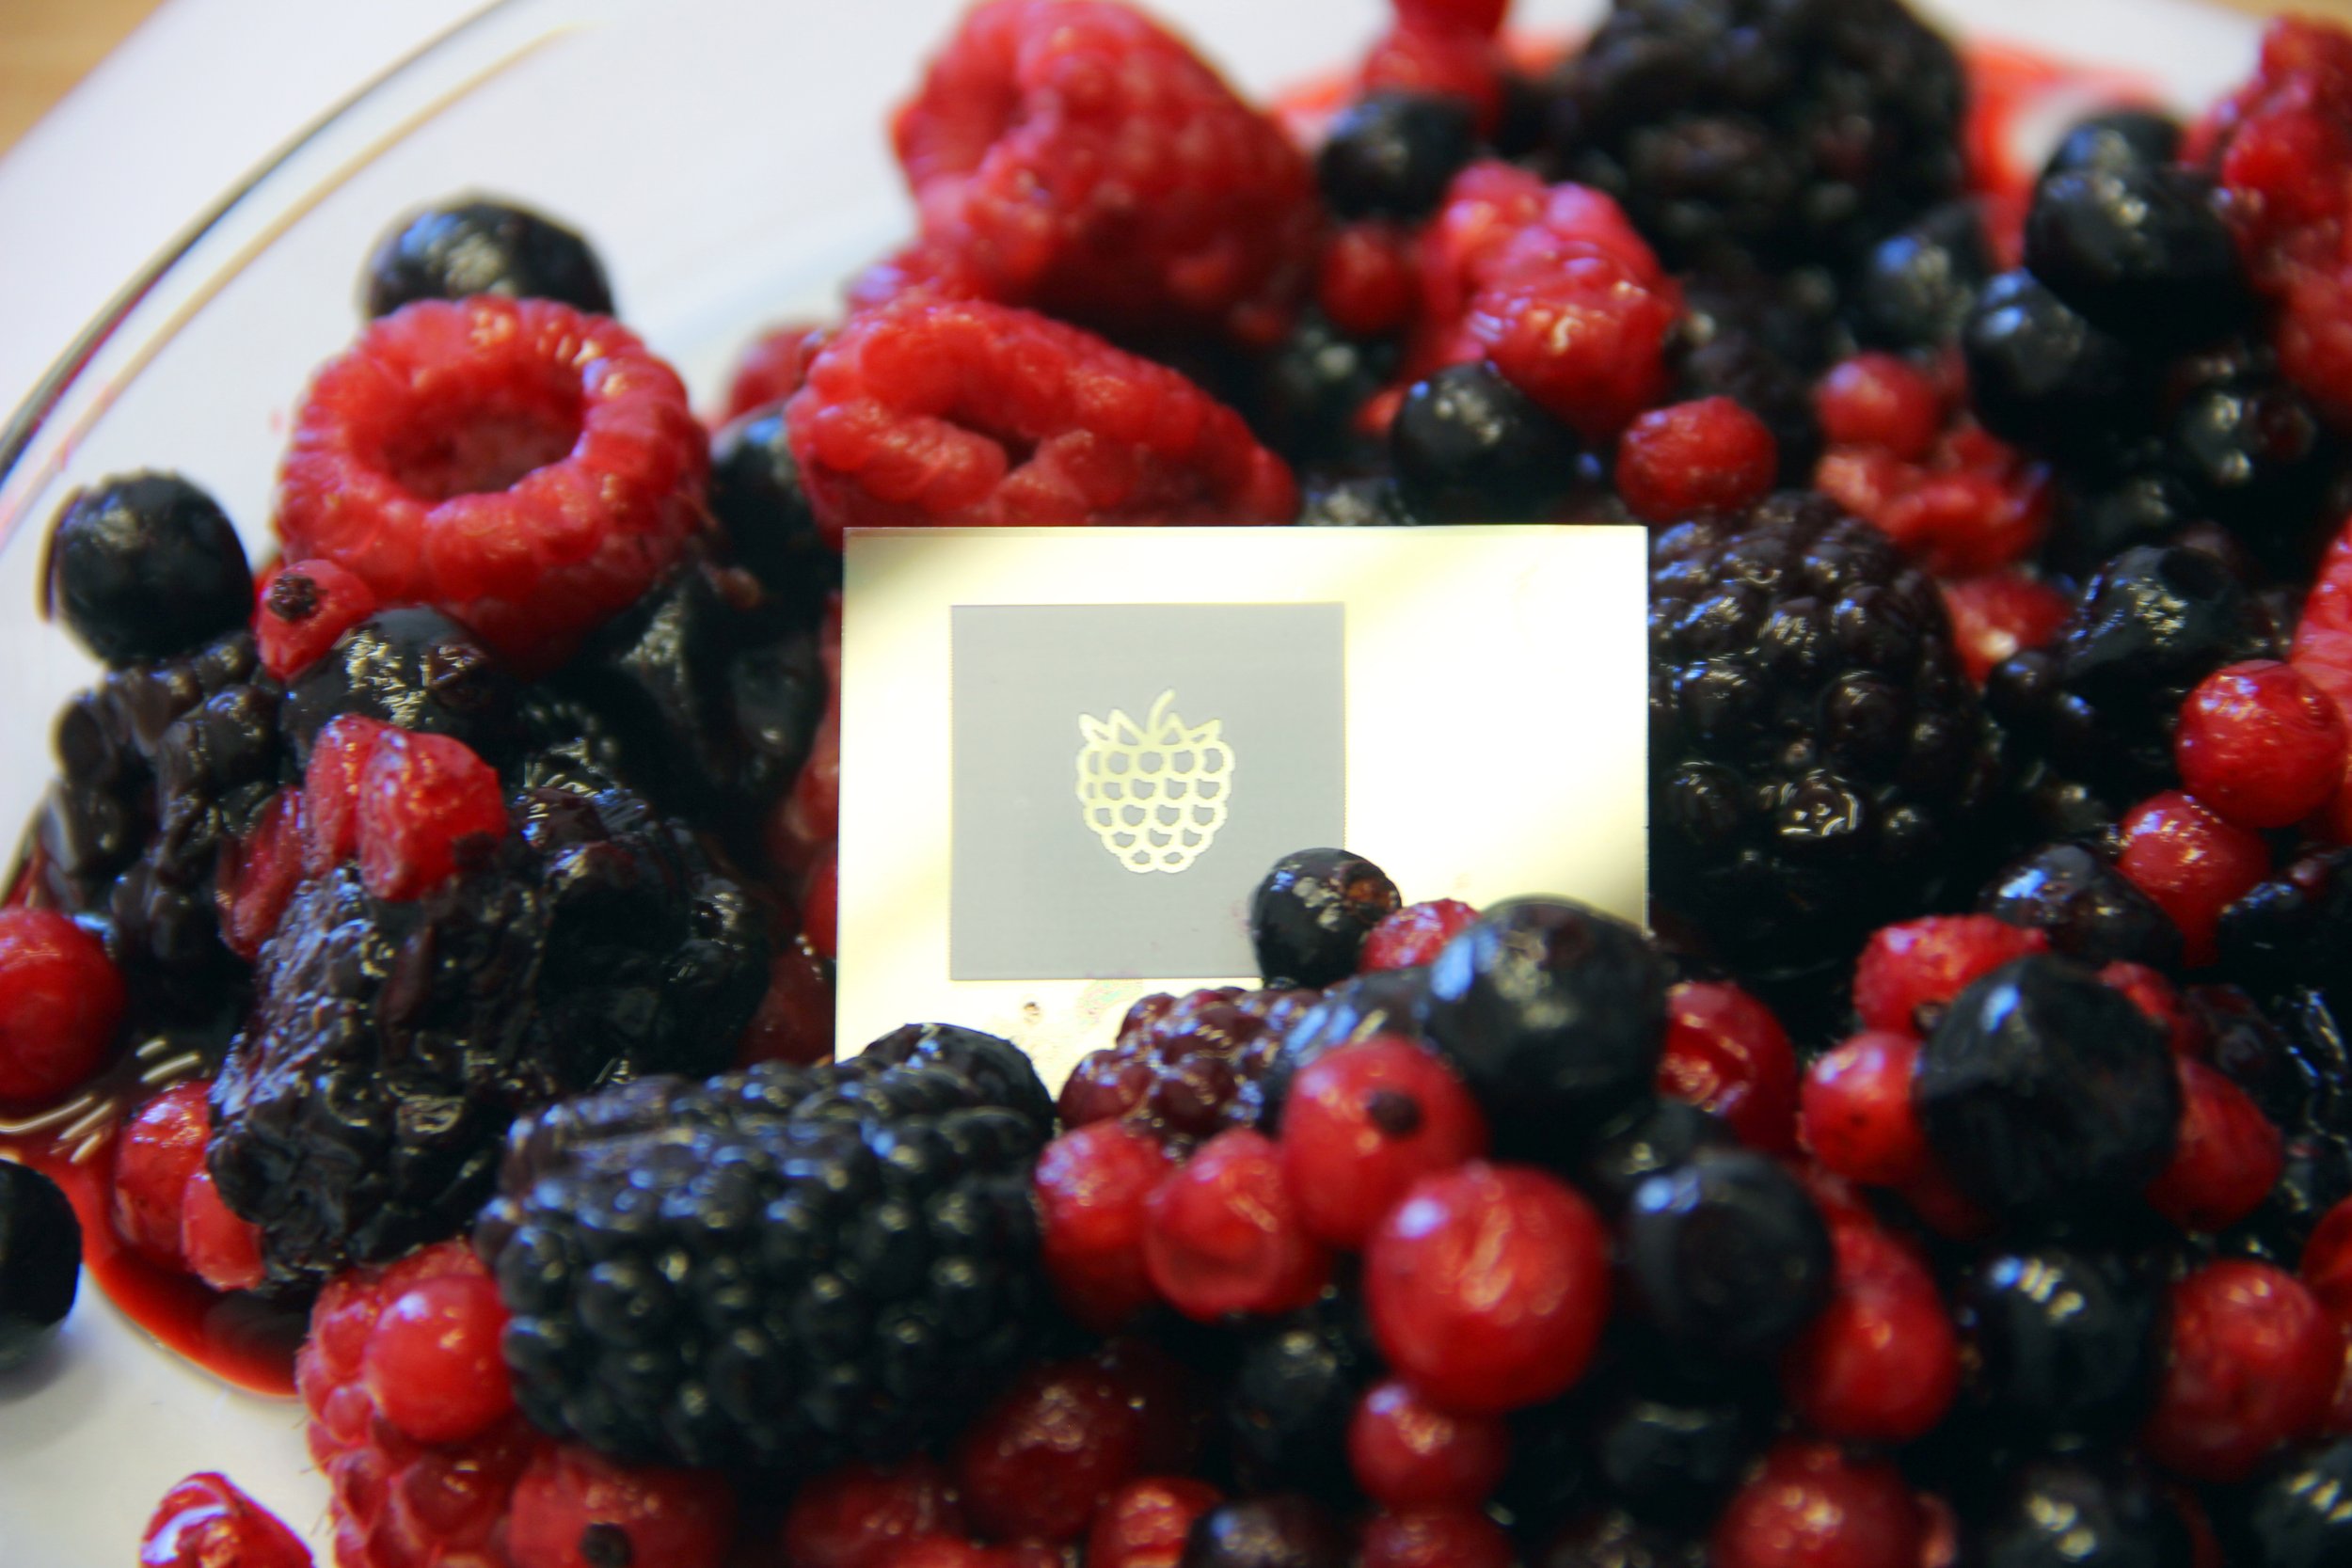
I MADE A BERRY CELL
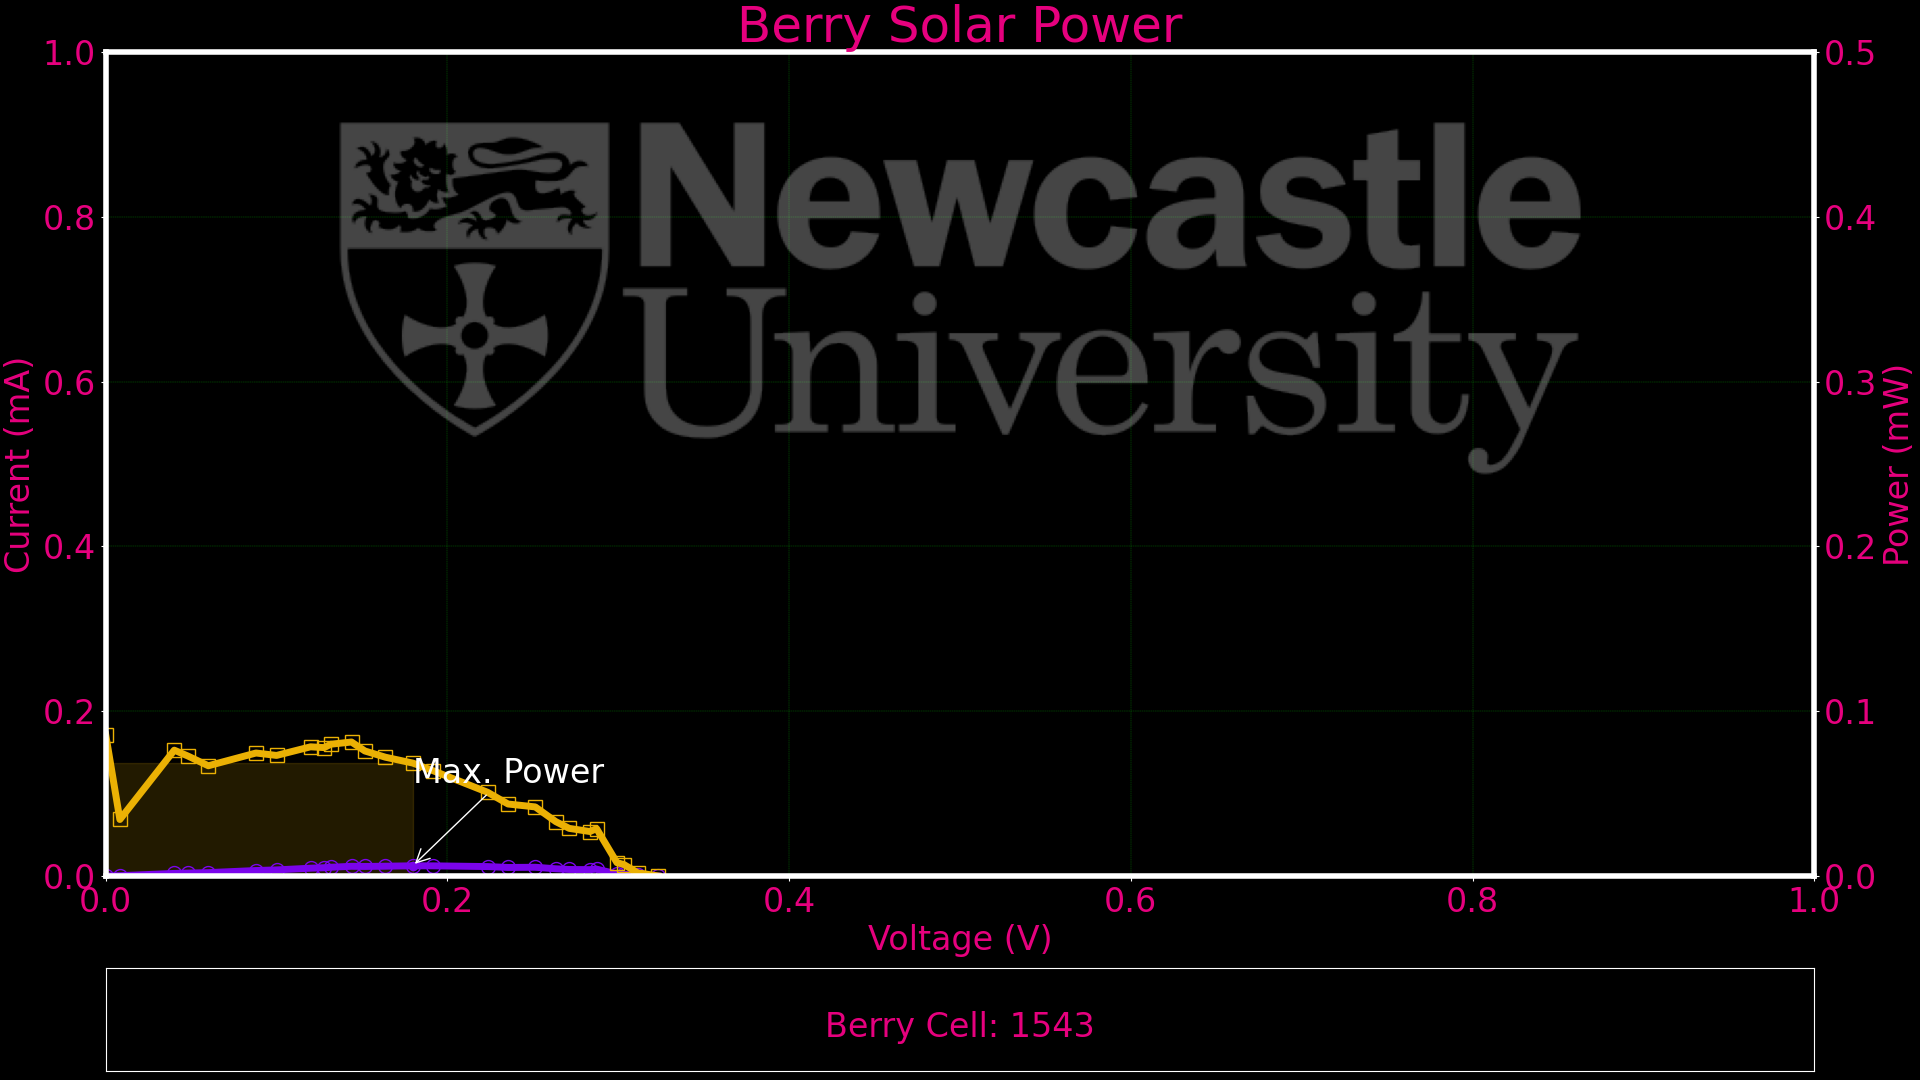
HERE’S WHAT THE POWER PROFILE OF MY CELL LOOKED LIKE…
STEP 1
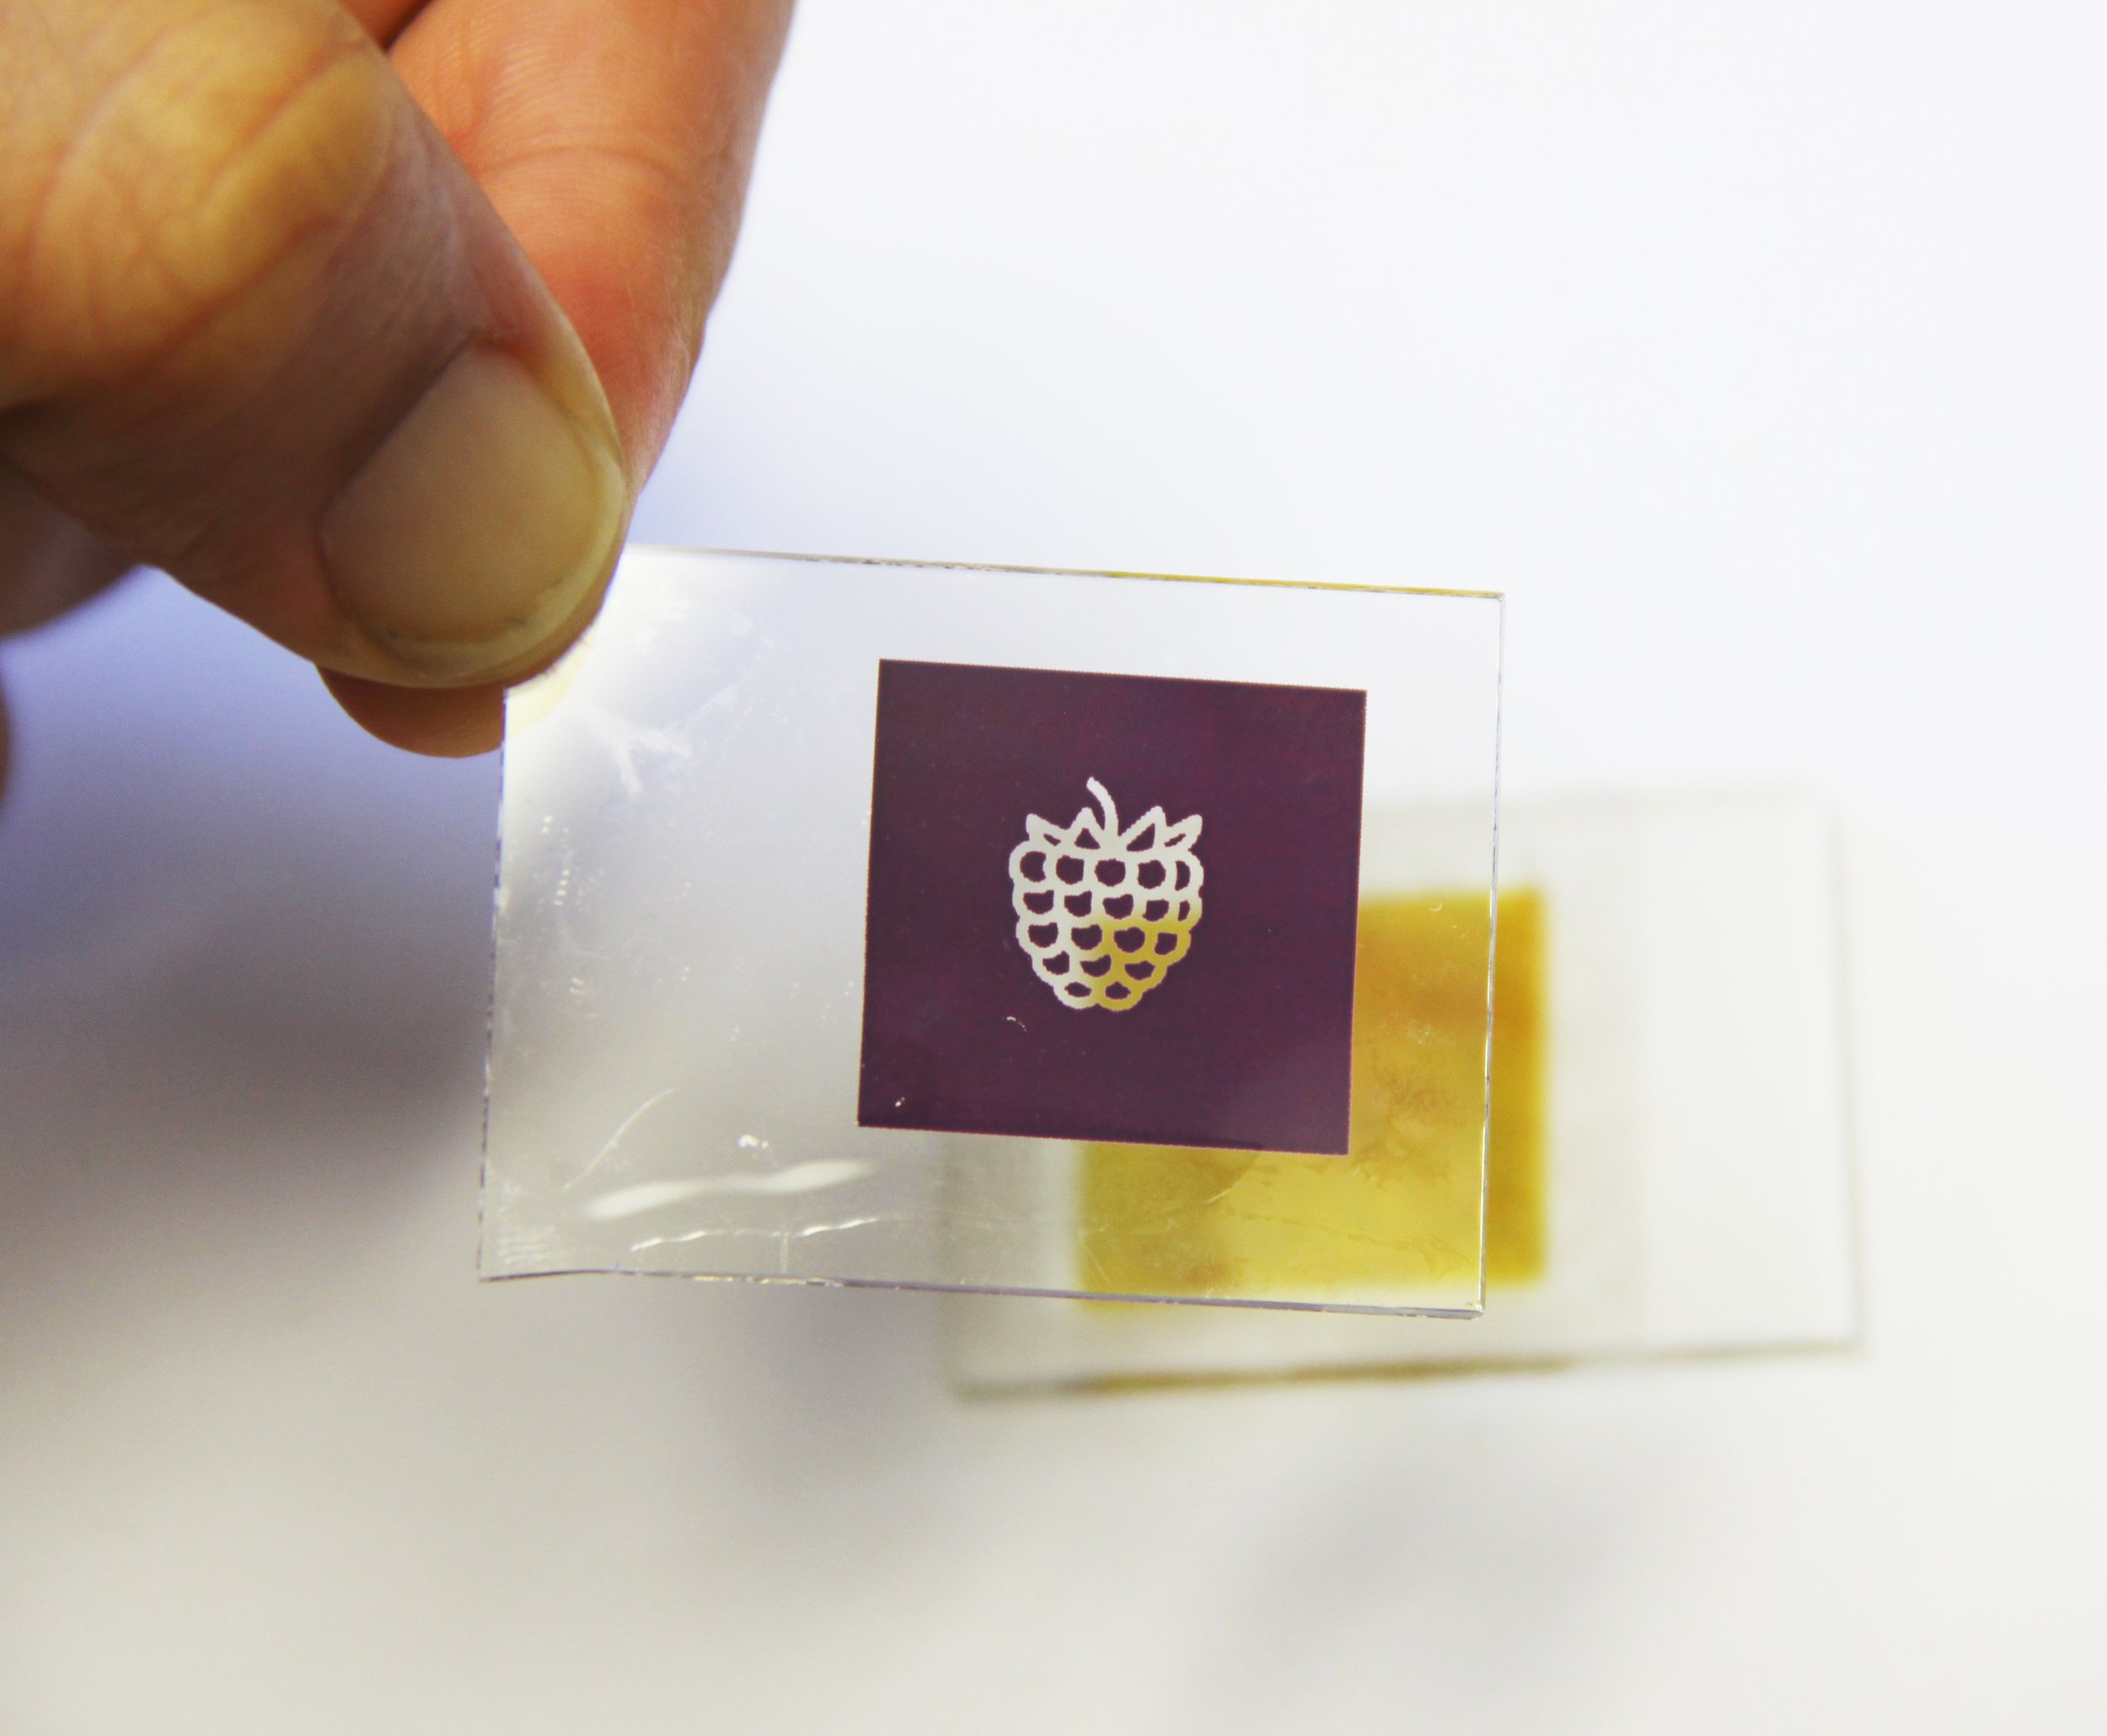
I PREPARED A WORKING ELECTRODE
I placed my ‘working electrode’ in a crystallising dish with crushed raspberries, making sure the entire white titania layer was covered in berry juice.
And I left it to soak in the berry juice for a few minutes.
STEP 2
I prepared the ‘counter electrode’
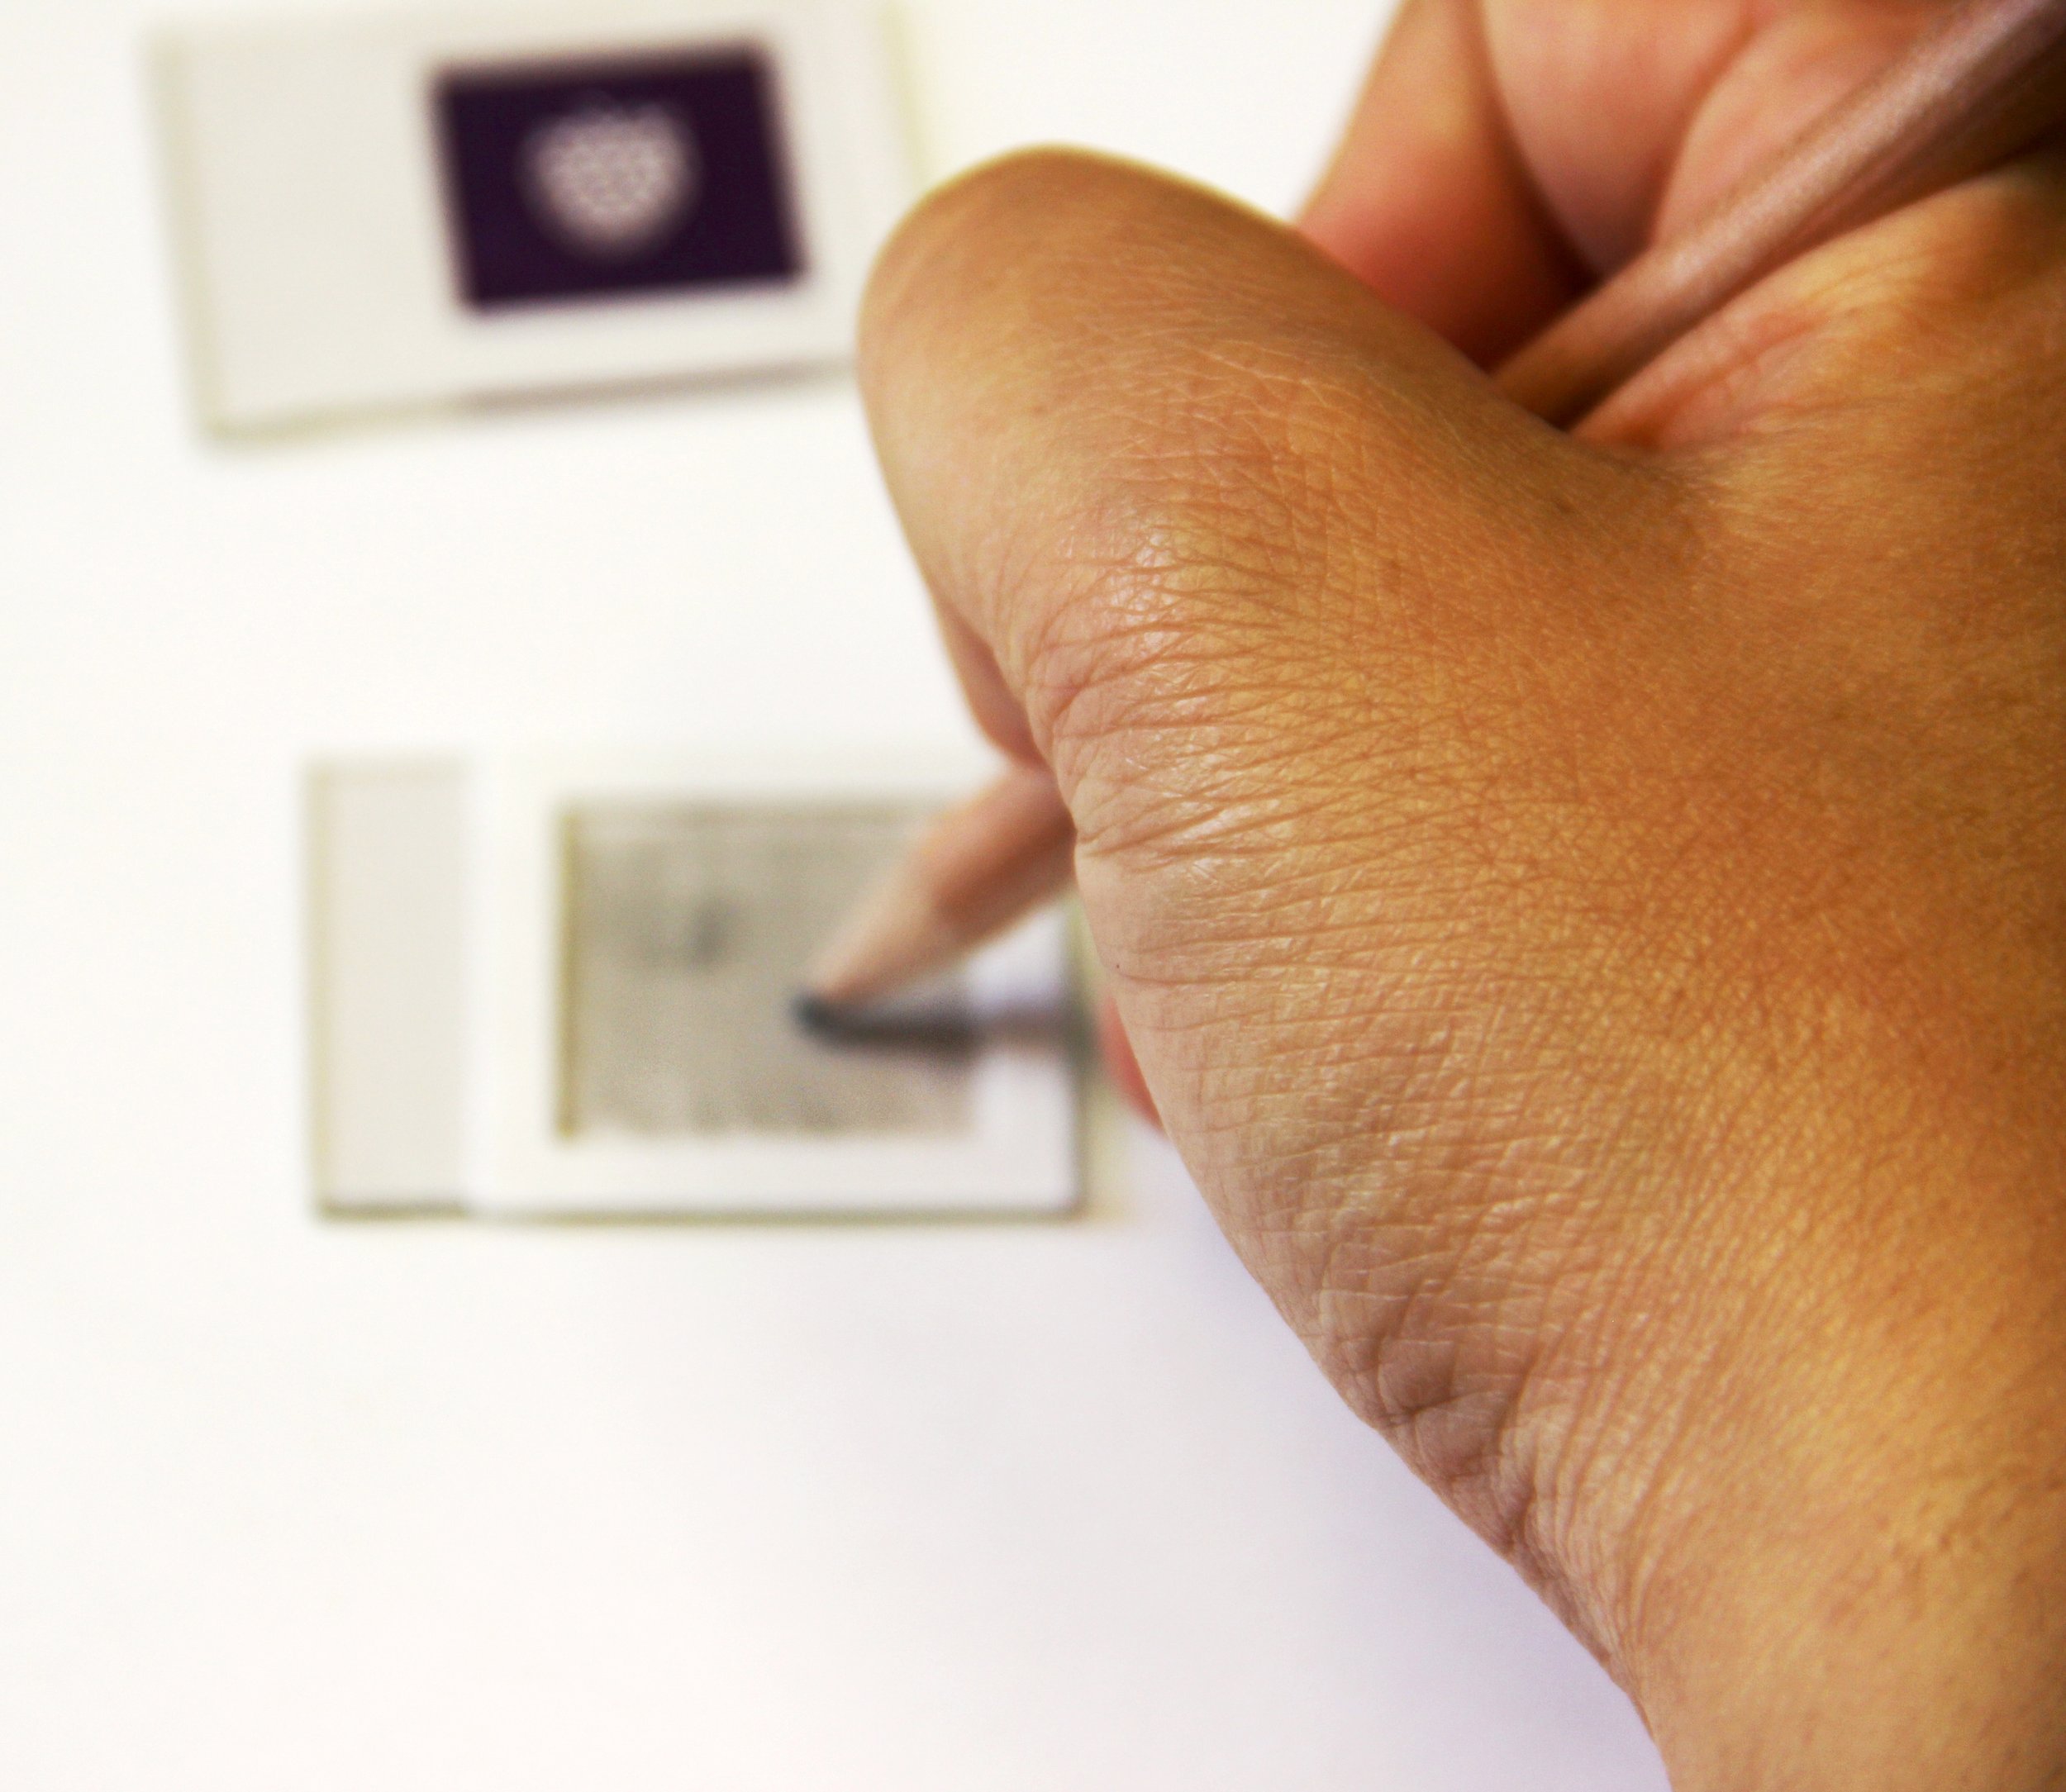
With a pencil I coloured the conducting side of the glass with graphite.
And I added a spacer and some electrolyte.
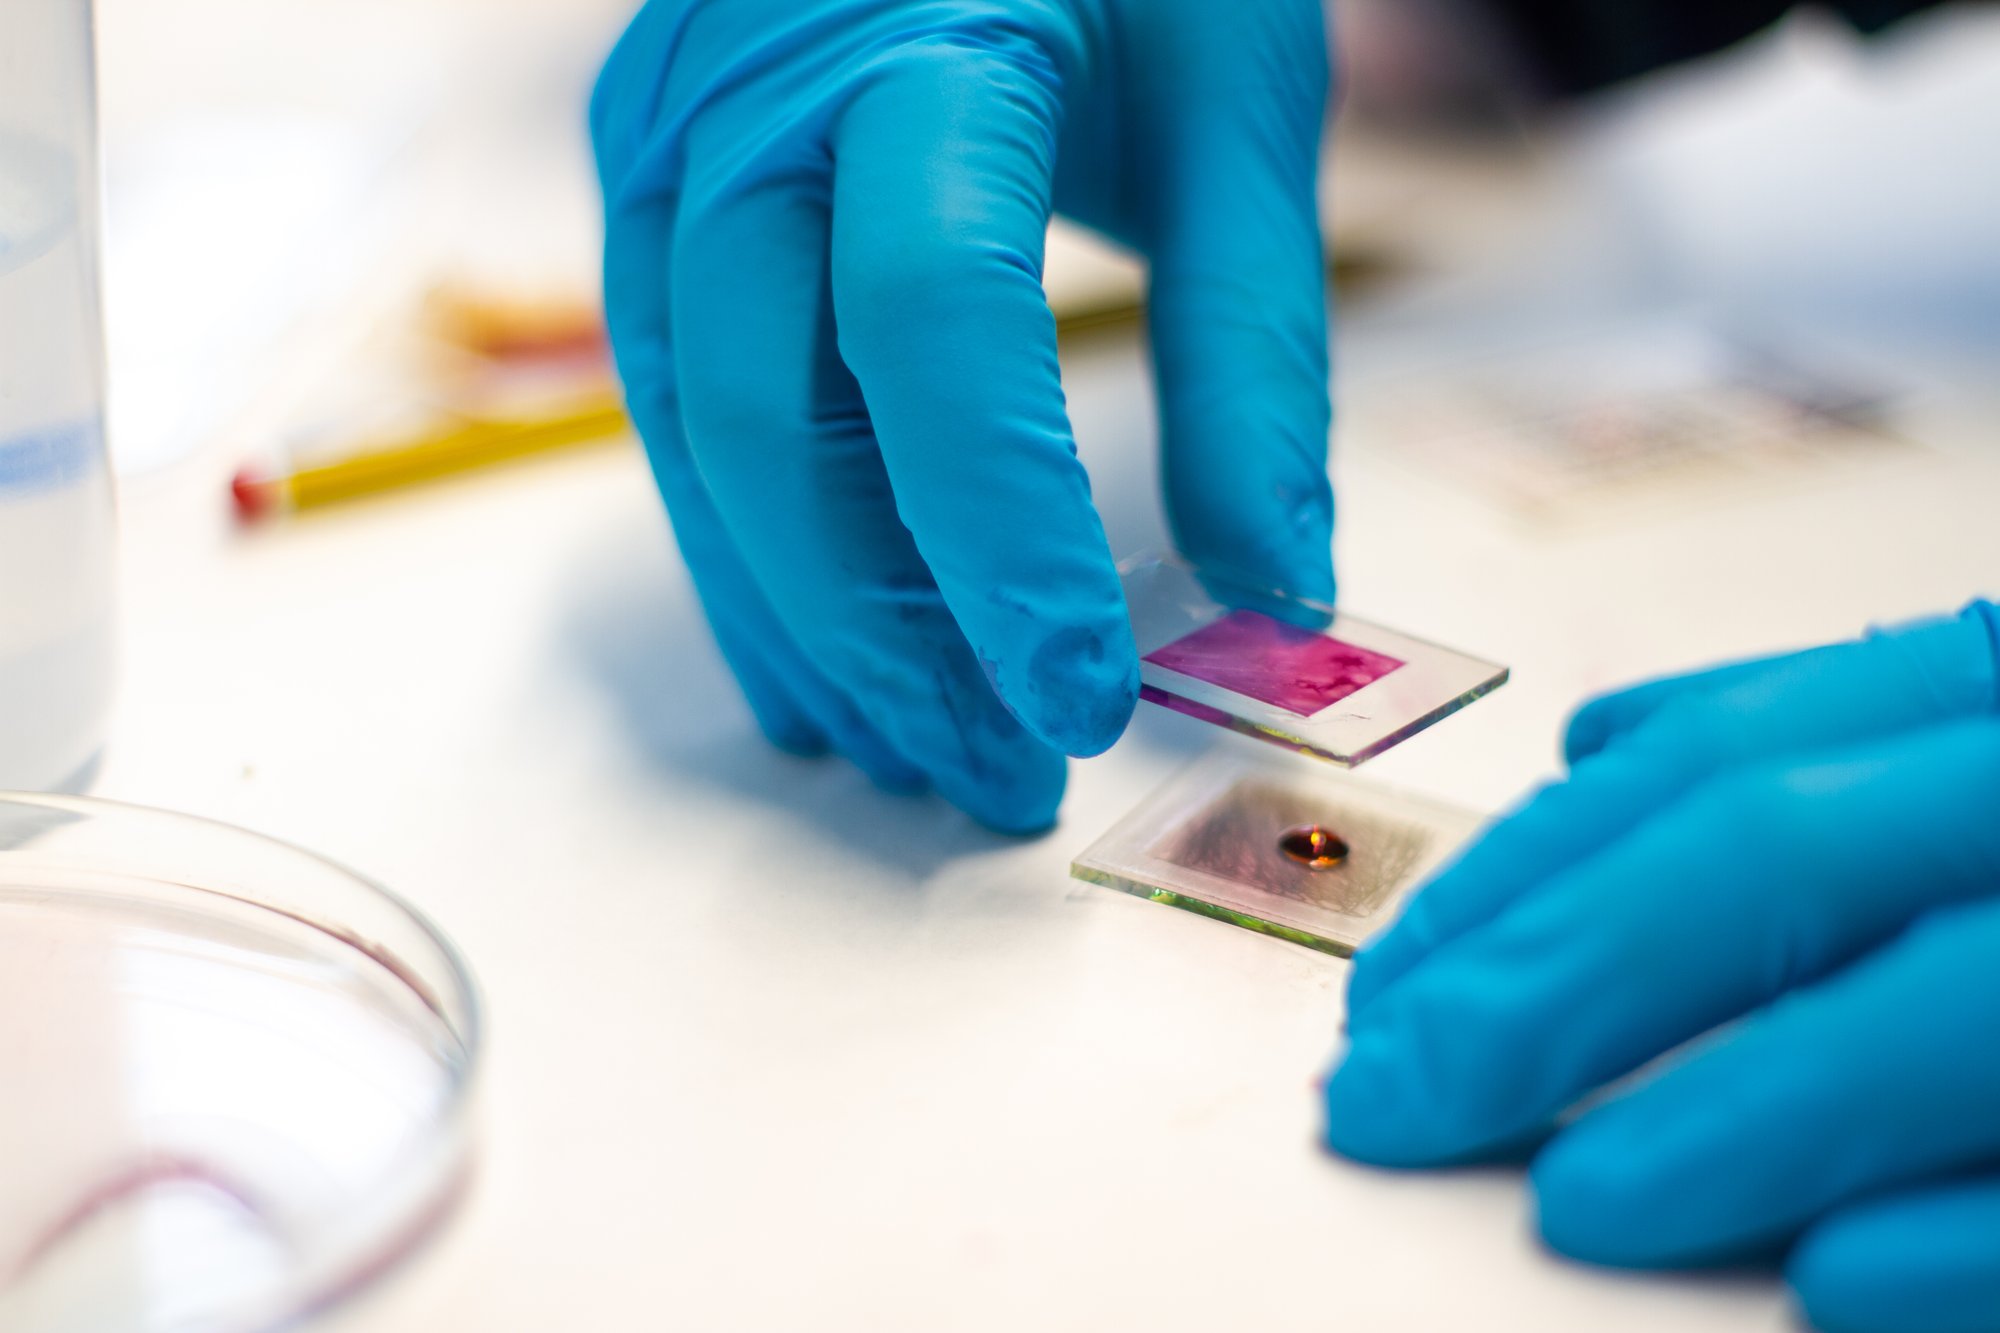
STEP 3
I ASSEMBLED THE BERRY CELL
I assembled the Berry Cell after rinsing and drying the working electrode.
STEP 4
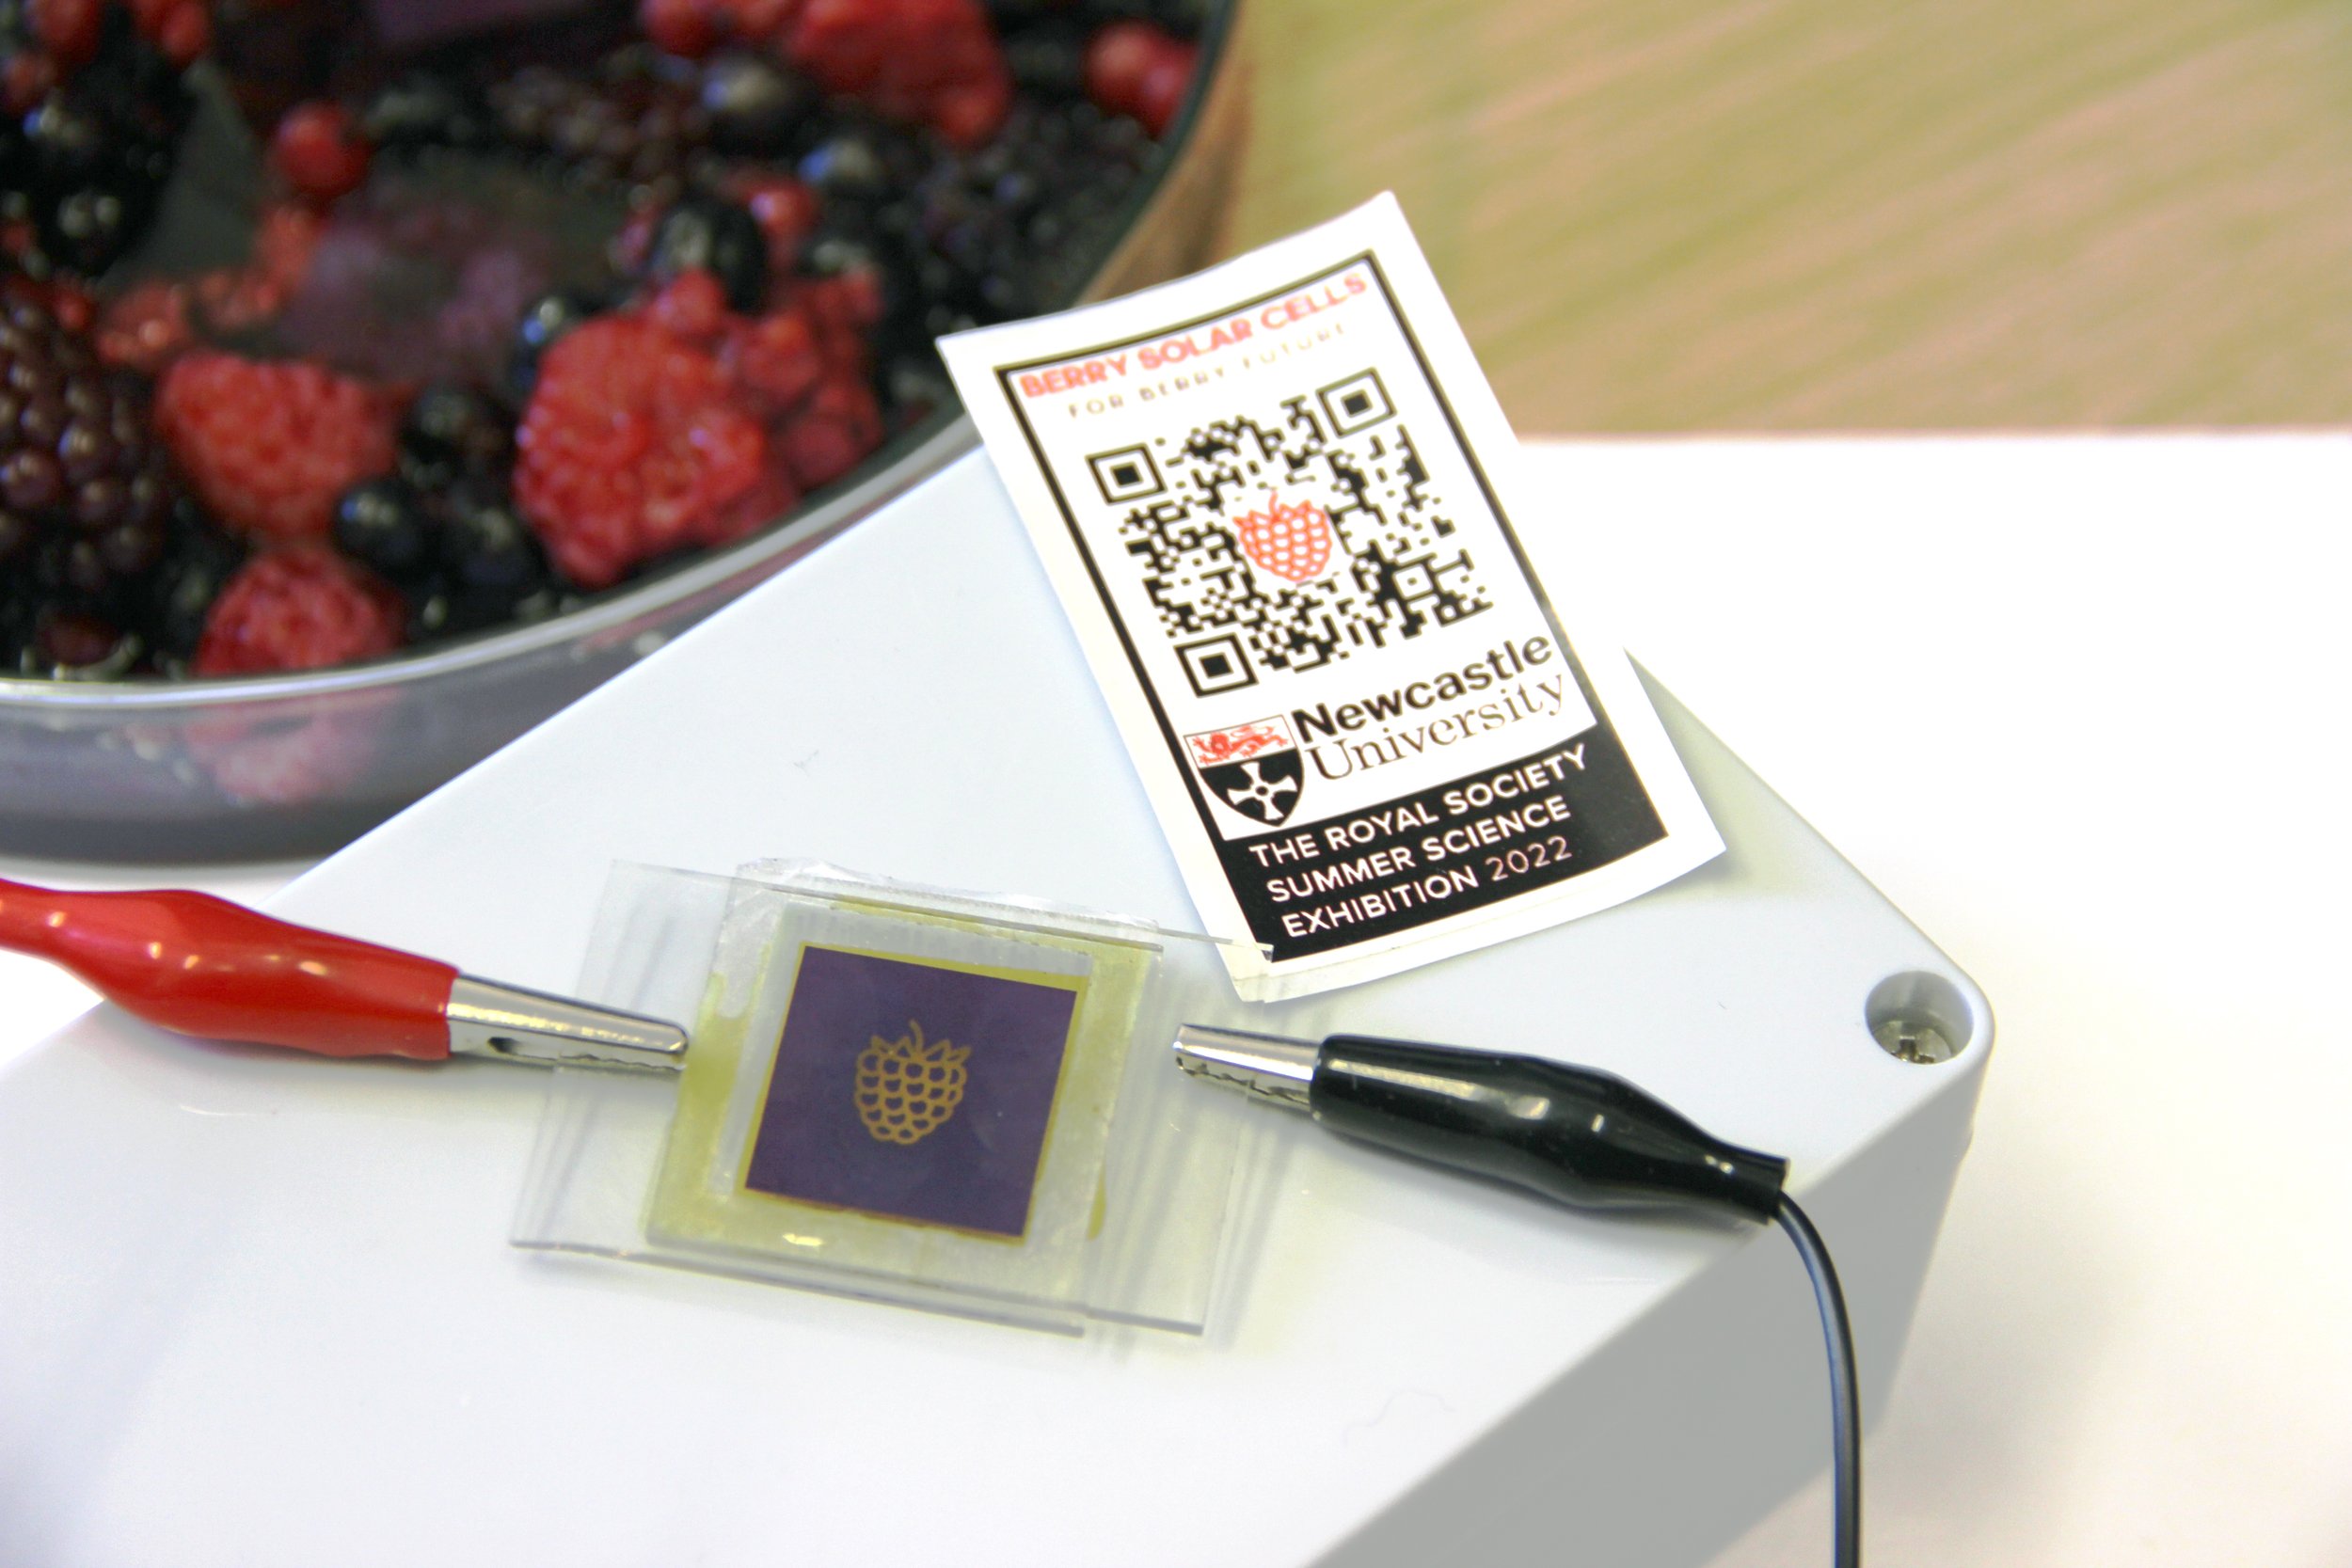
I TESTED MY BERRY CELL
It produced a few milliwats of power, which is enough to replace 2 coin cells a year.
The most efficient 'Berry Cells' (dye-sensitised solar cells) can replace around 100 batteries every year. The average British person uses around 10 batteries every year.
STEP 5
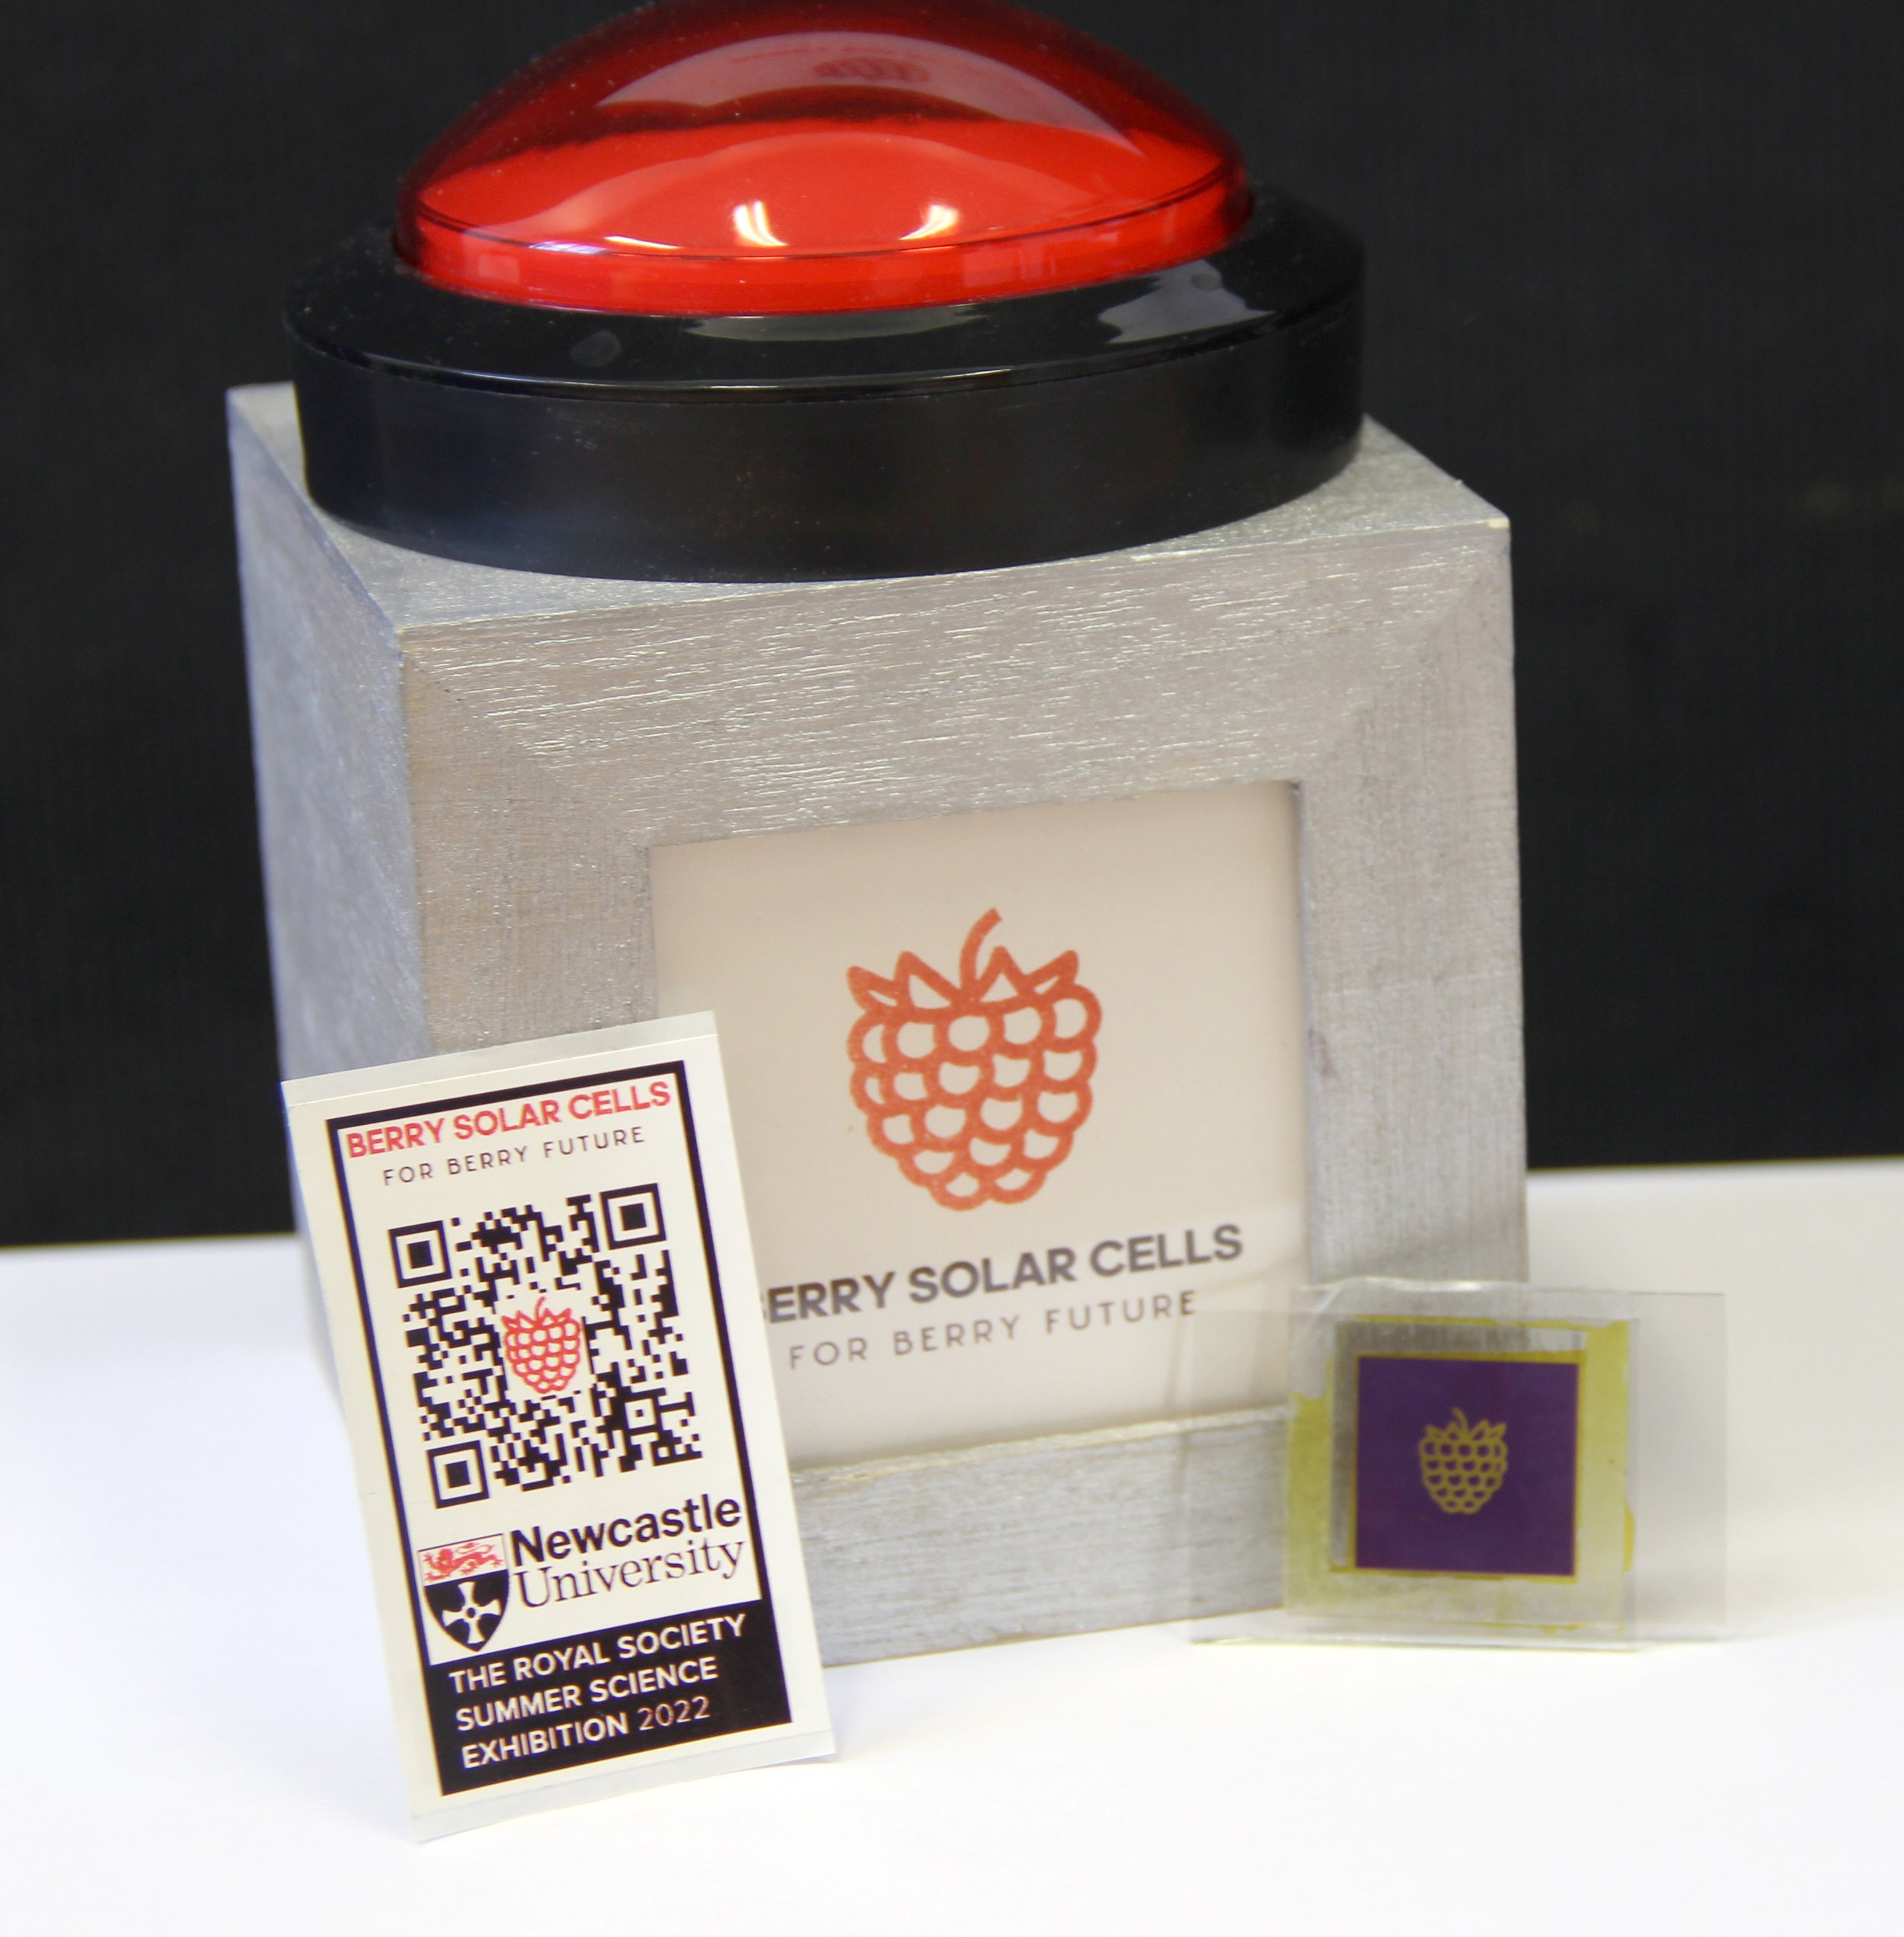
I CERTIFIED MY RESULTS
I pressed the big red Berrybutton and got a sticker to certify that my Berry Cell is working!
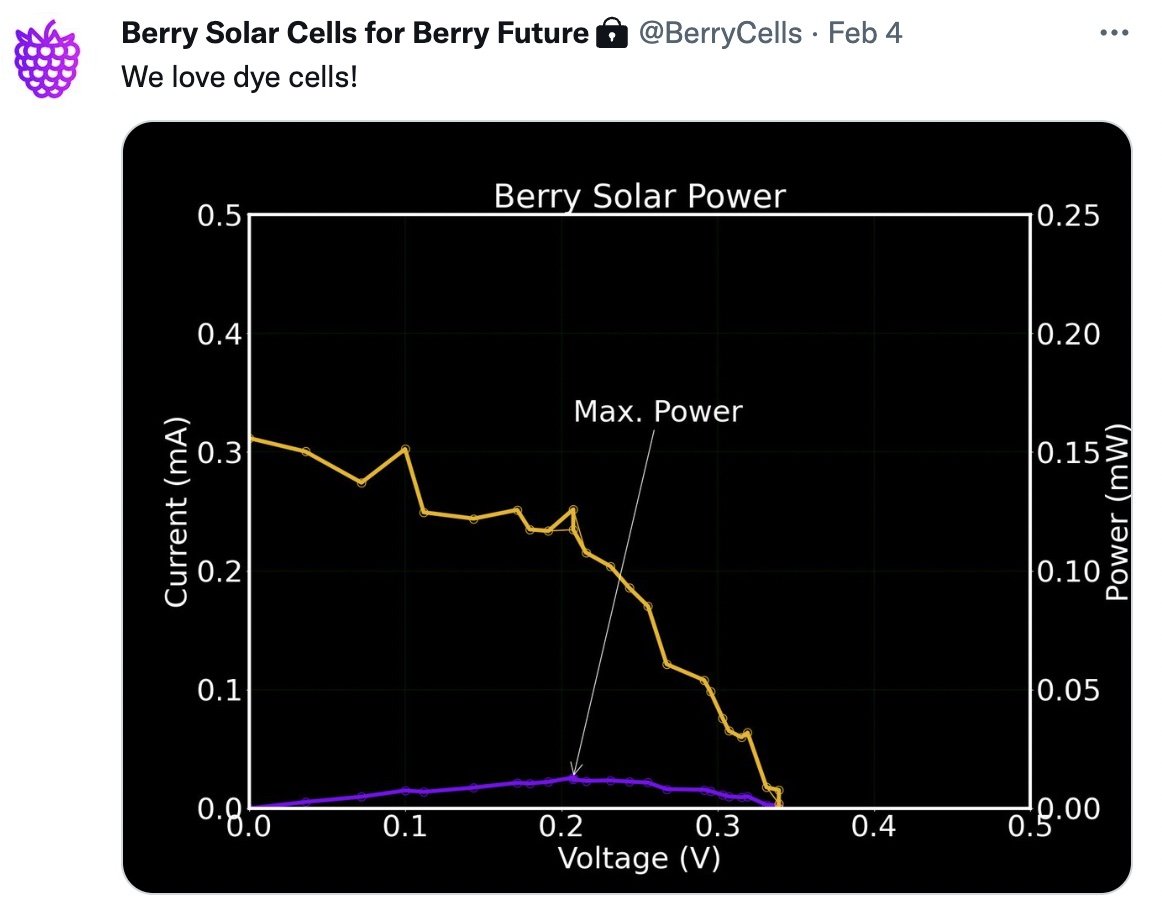
I TWEETED MY RESULTS
The yellow line with squares shows how much current the cell produced.
The purple line with circles shows the power under different loads.
Maximum power is what we always want to use.